+86-13989680588
 graylin@hongjiavalve.com
 Get a quote

 English
 русский
 Deutsch
Submit feedback
What Tips Help Install High Pressure Stop Valve
Author: Hongjia
Date: Sep 01, 2026
Installing a valve in a high‑pressure pipeline is not simply a matter of connecting two pieces of pipe. Position, connection condition, pipeline alignment, cleanliness, and operating requirements all have a bearing on how the valve behaves after installation.
A High Pressure Stop Valve needs to work within the conditions for which it was selected. Pressure, temperature, fluid characteristics, connection style, and available installation space should be considered before any physical work begins. A valve that fits the pipe size may still be unsuitable for the actual service conditions.
Preparation also affects later maintenance. A valve installed in a narrow or difficult‑to‑reach position can make inspection harder, while a poorly aligned pipe may place unwanted force on the valve body. Proper preparation therefore starts before the valve reaches the connection point.
Safety deserves attention throughout the process. High‑pressure lines can contain stored energy even when normal flow has stopped, so isolation and pressure release should be completed according to the applicable site procedure before opening the pipeline.
What Should Be Checked Before Installing the Valve
A careful inspection of the valve can prevent small problems from being carried into the installation. Packaging damage, scratches around sealing surfaces, damaged threads, or foreign material inside an opening should be checked before the valve is connected.
The pipeline deserves the same attention. Pipe ends, connection faces, and nearby fittings should be clean and free from visible damage. Dirt, metal fragments, welding residue, or other loose material can interfere with sealing or move into the valve during operation. Installation guidance for high‑pressure valve equipment commonly calls for inspection of the valve and cleaning of the pipeline before connection.
Several basic checks can be made before installation:
- Confirm pressure and temperature suitability
- Check the connection type and size
- Inspect sealing and connection surfaces
- Look for damage around the valve body
- Check available space for operation and maintenance
- Review the installation instructions for the specific design
Installation space is easy to overlook. An operating handle or stem needs enough room for movement, while inspection areas should remain accessible after nearby pipes and equipment are in place.
How Should the Pipeline Be Prepared Before Installation
Pipeline preparation should begin with safe isolation. The relevant section needs to be shut down, separated from active pressure, and drained or vented through the proper system. Opening a connection before confirming pressure has been removed can create a serious hazard.
Once the line has been made safe, internal cleanliness becomes the next concern. Loose particles can come from earlier pipe work, cutting, welding, storage, or transportation. Removing such material before installation helps reduce the chance of contamination entering the valve.
Pipe alignment also deserves attention. A valve should fit naturally between the connected pipe sections rather than being pulled, pushed, or twisted into position. Misaligned piping can transfer mechanical stress to the valve body and connection points. Installation guidance for valve assemblies likewise emphasizes correcting pipe misalignment before installation.
A practical preparation sequence can include:
- Isolate the relevant pipe section.
- Confirm that pressure has been released safely.
- Drain or vent the line according to the site procedure.
- Clean the pipe interior and connection surfaces.
- Check pipe alignment.
- Inspect nearby supports and fittings.
- Confirm that the valve can be positioned without forcing the pipe.
Keeping the pipe naturally aligned makes connection work easier and reduces unnecessary load on the finished assembly.
How Should Flow Direction and Valve Position Be Checked
Flow direction should be checked before the valve is lifted into its final position. Many valves have a directional mark on the body, and installation guidance commonly instructs users to align that indication with the intended fluid direction.
Ignoring the marked direction can create operating problems, particularly for designs whose internal parts are arranged around a particular flow path. Checking the marking before connection is much easier than correcting the orientation after the pipe has been assembled.
Mounting position also deserves some thought. Depending on the valve design, the acceptable orientation may vary, so the specific installation instructions should take priority over a general assumption.
Access matters just as much. An operating handle, stem, or other control section should remain reachable, with enough room for normal movement. Space around the valve also helps during later inspection.
A few points are worth checking before tightening the final connection:
- Is the flow marking facing the intended direction?
- Can the operating part move freely?
- Is the valve body sitting naturally between the pipes?
- Are connection surfaces properly aligned?
- Is there enough room for inspection?
- Will nearby equipment interfere with operation?
Correct positioning is not only about getting the valve to fit. It creates a better starting point for connection, testing, and future maintenance.
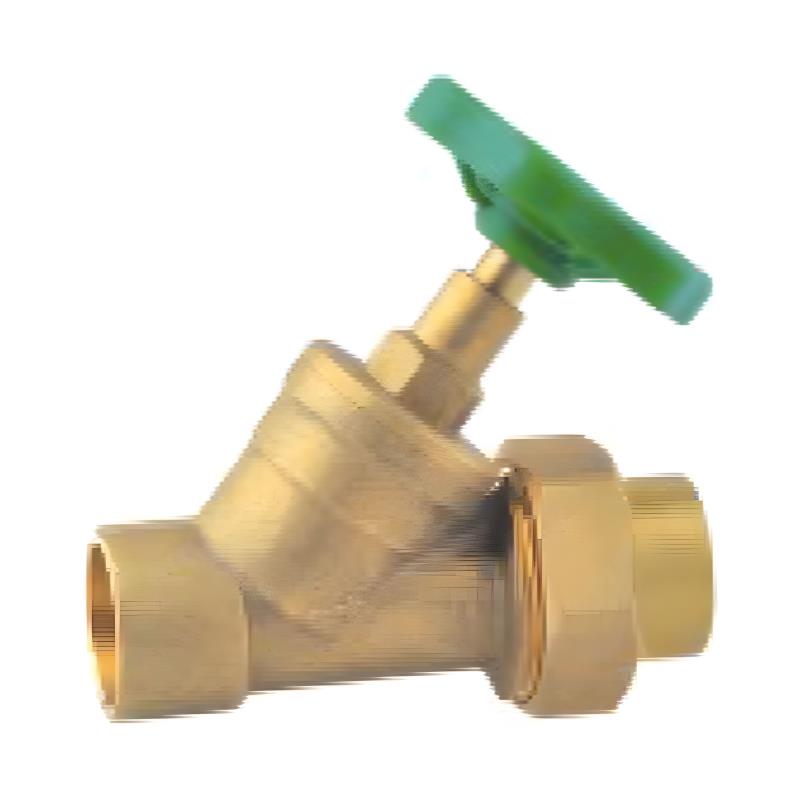
What Should Be Considered When Connecting the Valve
Once position and flow direction have been checked, connection work can begin. Connection surfaces should remain clean during assembly, since dirt or loose material may interfere with sealing.
A High Pressure Stop Valve should sit naturally between the pipe sections. Pulling pipe ends toward the valve with bolts can place unwanted force on the body and may make later operation difficult. Flanged connections need proper alignment before tightening, while threaded connections should be assembled with a sealing method suitable for the service and connection design.
Connection work is easier to control when a few points are checked along the way:
- Keep pipe and valve centers aligned
- Inspect sealing surfaces before assembly
- Use the appropriate gasket or thread sealing method
- Tighten fasteners evenly
- Avoid using the valve to correct pipe misalignment
- Keep operating parts free from interference
Excessive tightening can also create problems. A connection needs enough compression to maintain a seal, while unnecessary force can damage sealing parts or connection components. For flanged assemblies, even tightening helps maintain consistent pressure across the gasket surface.
How Can Installation Quality Be Checked Before Pressurizing
A quiet inspection before introducing pressure can catch problems that are easier to correct at this stage. Every connection should be checked, including areas that may be difficult to see once insulation or nearby equipment is installed.
The valve should also be operated gently according to its intended movement. Resistance, sticking, or unusual movement should not be ignored. Such behavior may come from incorrect alignment, debris, damaged parts, or an operating mechanism that has not been installed correctly.
| Inspection Area | What to Look For |
|---|---|
| Valve body | Damage or deformation |
| Connections | Correct assembly and alignment |
| Sealing areas | Proper seating and visible condition |
| Pipework | Support and natural alignment |
| Operating part | Free and controlled movement |
| Pipeline interior | No loose installation debris |
Pressure connections should be confirmed before pressurization, and installation guidance for high‑pressure valve equipment recommends checking connection tightness before introducing pressure.
Removing tools, temporary covers, loose materials, and installation debris from the work area is also worthwhile. A final visual check often takes little time compared with correcting a problem after the system has been pressurized.
How Should a High Pressure Stop Valve Be Tested After Installation
Testing should follow the approved procedure for the particular pipeline and valve. Pressure should be introduced in a controlled manner rather than opened suddenly. A gradual start gives operators an opportunity to observe connections and identify unexpected leakage or movement.
During initial pressurization, attention can be given to:
- Connection joints
- Sealing areas
- Valve body condition
- Unusual sound or vibration
- Operating movement
- Nearby pipe connections
Installation guidance commonly recommends controlled introduction of fluid and checking valve operation during startup.
A small amount of initial flow can also make it easier to observe how the valve behaves before normal operation begins. Any leakage or unusual movement should be investigated rather than overlooked.
Testing conditions need to remain within the limits specified for the valve and pipeline. High‑pressure equipment stores significant energy, so pressure testing and commissioning should be handled by qualified personnel following the applicable site safety procedure.
What Common Installation Problems Should Be Avoided
Many installation problems come from preparation rather than from the valve itself. A connection may look complete while hidden pipe stress, debris, or incorrect positioning remains.
Common issues include:
- Installing without checking service conditions
- Opening a line before pressure has been safely released
- Leaving dirt or welding residue inside the pipe
- Ignoring the flow‑direction marking
- Pulling misaligned pipes together through the valve
- Using an unsuitable sealing method
- Applying excessive tightening force
- Blocking access to the operating mechanism
- Pressurizing before checking all connections
Pipe alignment deserves particular attention. Guidance for valve installation notes that inaccurate alignment can place stress on the valve body, while forced flange alignment may contribute to leakage or operating problems.
Another common issue is treating every valve in the same way. Connection style, mounting position, flow direction, and internal construction can differ between designs. Instructions supplied for the actual valve should therefore take priority over a general installation habit.
How Can a Stop Valve Factory Support Proper Installation
Installation does not end with the valve leaving a production facility. Clear information about connection type, flow direction, handling, operating position, and inspection can make field work easier to organize.
A Stop Valve Factory may provide installation instructions suited to a particular construction, helping users avoid assumptions based on a different valve design. Such information becomes especially useful when the valve has a less familiar connection arrangement or operating mechanism.
Good installation records can also support later maintenance. Recording the valve location, connection arrangement, operating direction, and inspection observations gives maintenance personnel useful background when the system needs attention.
For equipment used in high‑pressure service, installation works best as a connected process: suitable valve selection, safe pipeline preparation, correct alignment, careful connection, controlled pressurization, and regular inspection all belong to the same workflow. A High Pressure Stop Valve that has been installed with attention to each stage is easier to inspect and operate during later service.